Ok so if you are familiar with Live Streaming or Broadcasting you may be familiar with the Open Broadcaster Software (OBS) and how you can integrate Network Device Interface (NDI) as seperate Video and Audio streams that can be displayed on a Live Stream using OBS with NDI plugins.
If you are then great, if not then have a look at OBS and NDI first!
Its great to see that Microsoft Teams now offers Native support for NDI which means we can broadcast the Audio and Video streams created by a Teams client across the network for consumption!!! Which is awesome!
The following features are available once the service is enabled on the Server side (Teams Admin Centre) as well as the Client side (Teams Client):
NDI-out features
Once NDI technology is turned on, the following streams will be available:
- Primary speaker: A stream will be generated that automatically switches to whoever is actively speaking from all of the incoming streams. (Audio/video from your own computer will not be included.)
- Local: A stream will be generated of the audio/video that is being sent to the meeting from your computer. (This allows you to have the same audio/video in both the meeting and in your local NDI production.)
- Individual users: Each individual user will have a stream available over NDI. The incoming audio for a meeting is mixed together and will be the same for all individual user streams. These streams will display the video at the same quality that is being received by the client. Note: If no video is available, you will see a simple screen with the Teams logo. But the stream is still being received by your NDI® software/hardware.
- Screen sharing: Any incoming screen sharing will be available as an NDI stream.
- Large gallery and Together mode: Both of these modes will have their own NDI stream available.
So lets walk through how to configure each of the component parts and see if we can get an output working!!!
Enable your Organisation via the Teams Admin Centre
Logon to your Microsoft 365 Admin Centre and Browse to the Teams Admin Centre: https://admin.teams.microsoft.com/
Meetings -> Meeting Policies ->Global (Org-wide Default)
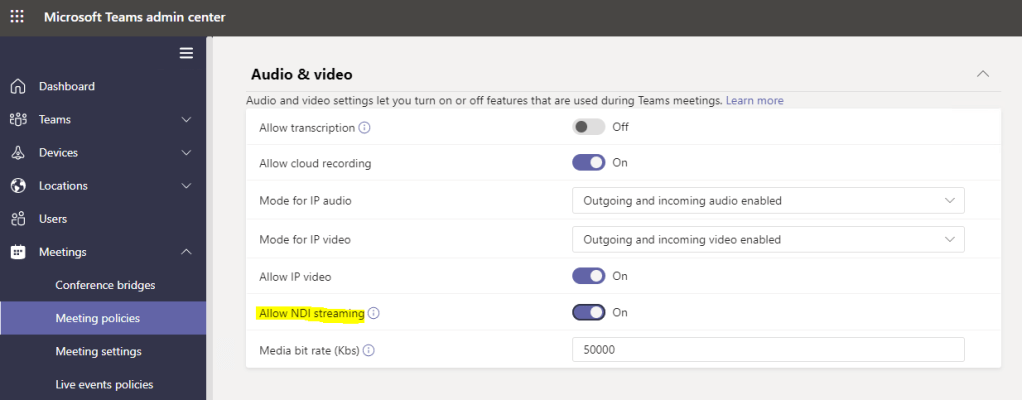
Ensure that the Allow NDI Streaming option is set to ‘On’ (This could also be applied at any policy level you may have for your meeting policies).
Enable your User via the Teams Client
Once you have configured your Meeting Policy to allow users to access the NDI features, it may take a few hours before the option becomes available for selection in the Microsoft Teams Client and you may need to log out and back in.
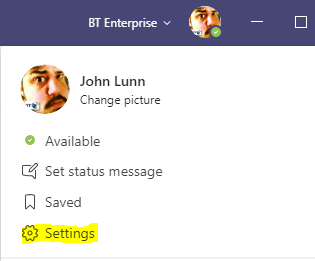
Click on your account Settings:
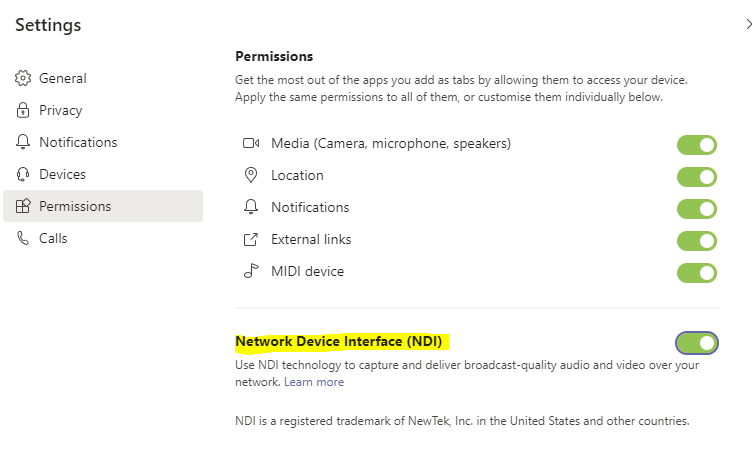
Select Permissions then ensure the NDI setting is switched on:
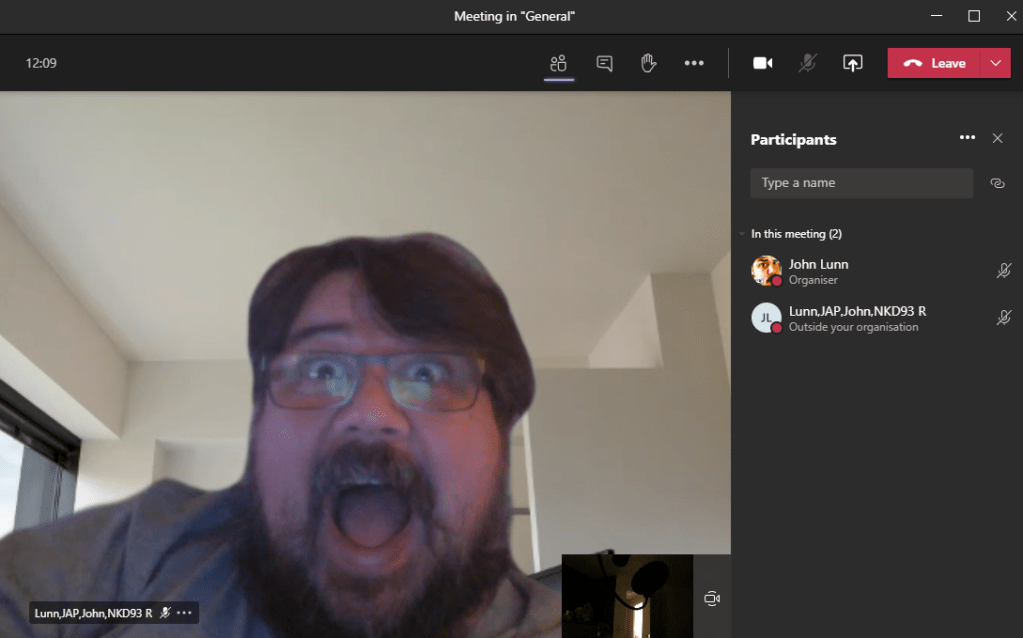
After enabling NDI technology in Teams, all meetings that you join will have streams available via NDI over your local network. When you join a meeting in the Teams desktop app, you will be notified that broadcasting capabilities are turned on.

Insert a Video Source into your OBS Scene
Once you have set up a Teams Meeting and have a few people sharing video etc:
Open up OBS and go to your Scenes and Sources. CLick the + icon under Sources:
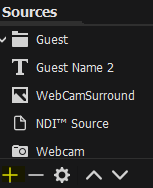
Select NDI Source and Name it something meaningful:
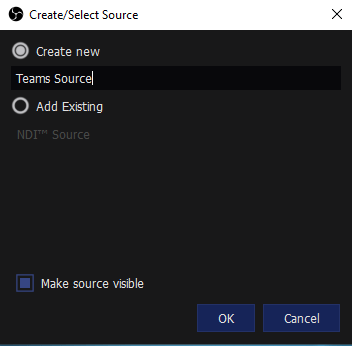
Under Source Name all of you meeting NDI video feeds are now available to pull into your OBS stream as seperate video feeds as per the features listed above:

Select the appropriate feed and add it to your OBS Scene!!!

There you have it! Check out the features and combinations of source that you can incorporate and make your live streams feel a bit special!!!
Another nice feature is that if your feed goes offline it gets replaced by a neat animated Teams Logo!!!