Looking at Serverless in Azure, I have looked at creating a simple Function App and doing a small amount of configuration to explore the options available to contain several Functions that can be consumed by various methods.
A Function App can be considered a place holder that contains multiple Functions all running on the same app service plan.
I have utilised the Azure Portal and a small amount of PowerShell to configure a Function in this exercise.
Create a Function App
Once Logged into the Azure Portal we click onto Create a resource and Function App:

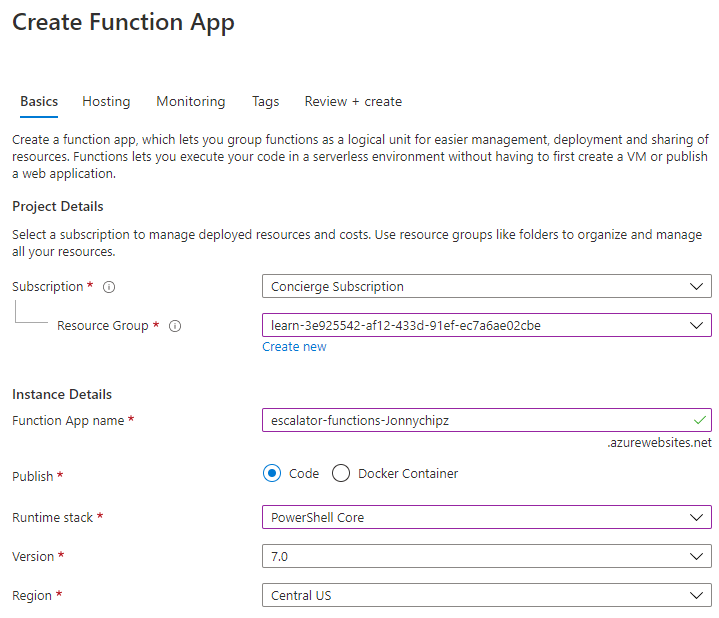
Next we Select the Subscription, Resource Group and give the Function App a name. We will choose PowerShell Core as our runtime stack:
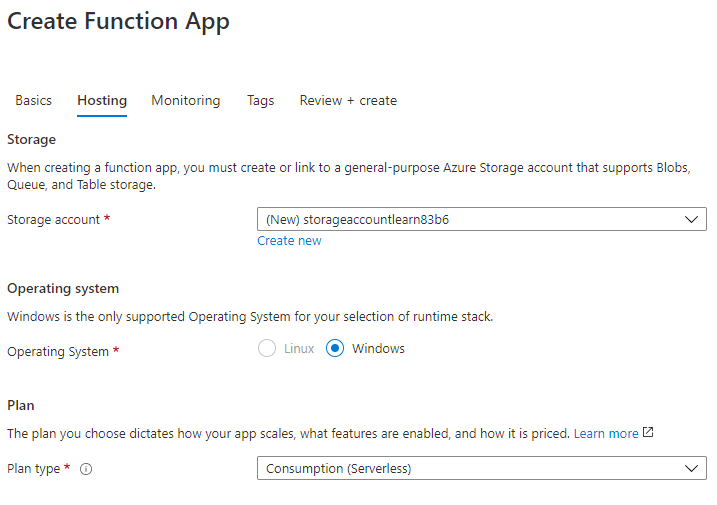
On the hosting tab, we just need to create a new storage account, Ensure that the OS is set to Windows and select the Consumption(Serverless) as the Plan type:
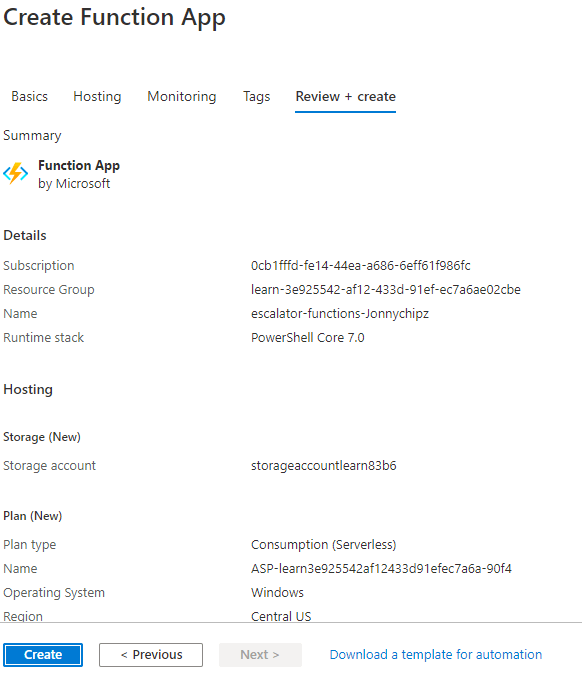
Once the configuration has been verified we can go ahead and create our Function App:
It will take a minute or two to deploy the Function app. Once completed we can check our resource group:

Where we should find the following objects:
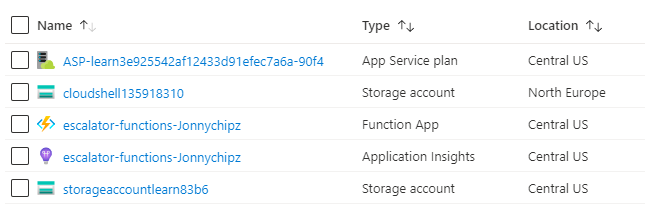
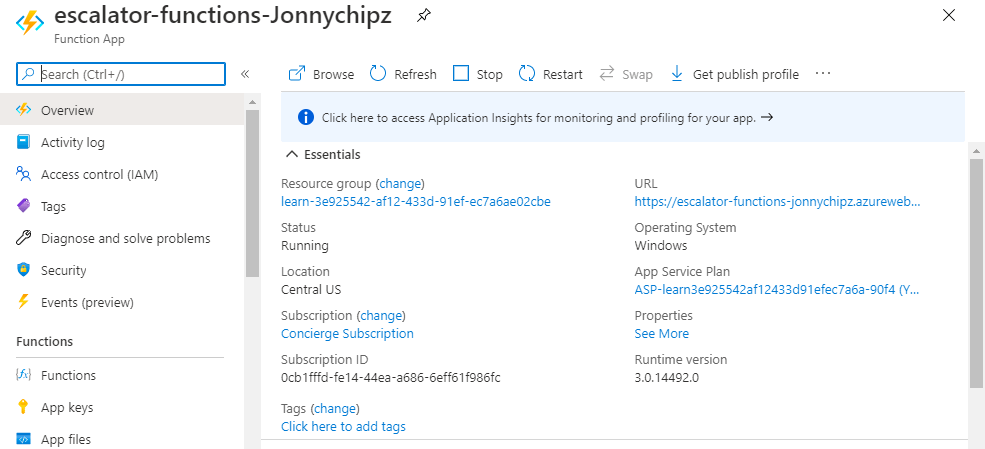
Here is our new Function App:

Now we have our Function App created, we will now build, configure and execute a Function!
Building and Configuring a Function
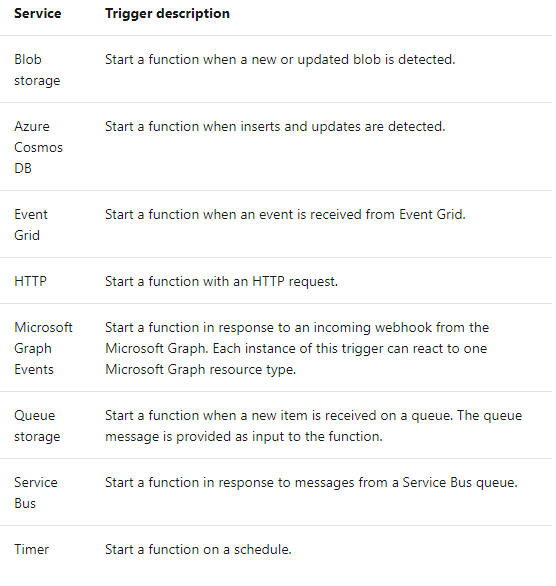
Functions are driven by Events, which basically means that a function runs in response to a given event. Typically these Events are called ‘Triggers’. Azure has many different supported Triggers across various Azure Services:
The way in which we connect data and services to a Function is by way of a ‘Binding’ A Binding takes care of the complexity of writing code for either input to a Function or output from a Function.
This is a typical Binding JSON file for utilising an Azure Queue Storage Trigger and an Azure Table Storage Output binding:
{
  "bindings": [
    {
      "name": "order",
      "type": "queueTrigger",
      "direction": "in",
      "queueName": "myqueue-items",
      "connection": "MY_STORAGE_ACCT_APP_SETTING"
    },
    {
      "name": "$return",
      "type": "table",
      "direction": "out",
      "tableName": "outTable",
      "connection": "MY_TABLE_STORAGE_ACCT_APP_SETTING"
    }
  ]
}
We are now going to implement a Function into Our Function App.
Adding a Function to our new Function App
First we browse to our Function App in the Azure Portal:
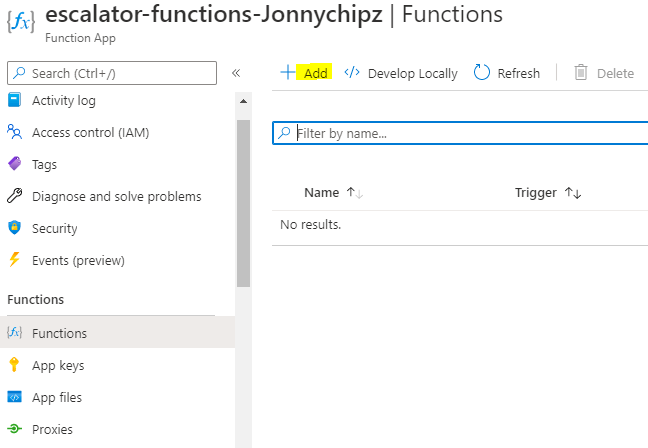
Under Functions, click Add:
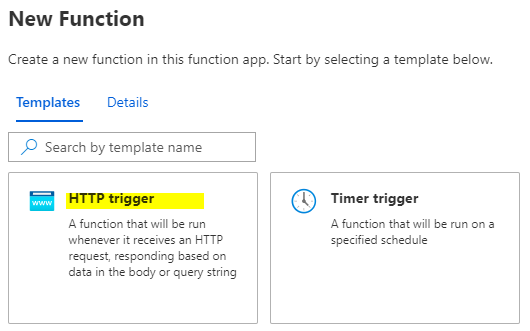
Under New Funciton, we select HTTP Trigger:
Next we give the function a name and select ‘Function’ as the Authorisation Level:
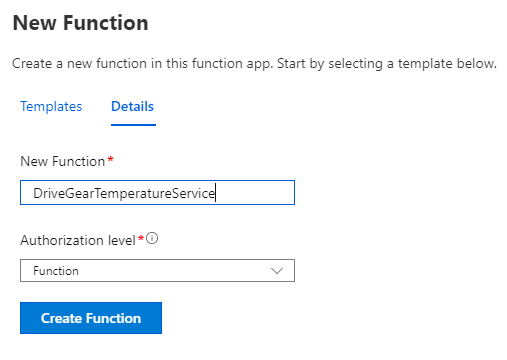
Click ‘Create Function’.
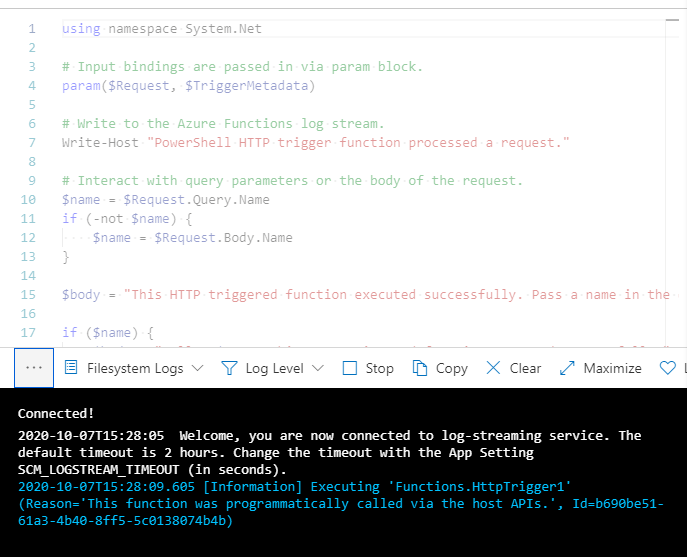
Next we enter our PowerShell Code to execute on a Run:
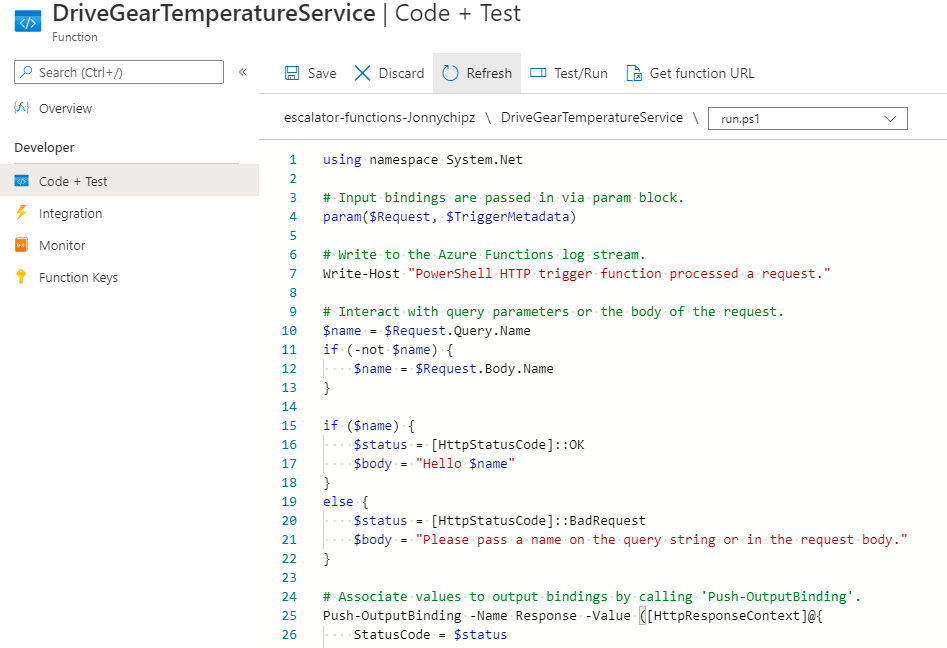
This PowerShell code expects a name to be passed through either the HTTP request query string, or the request body. HTTP functions generate output by writing to the output binding. In PowerShell ‘Push-OutputBinding’ cmdlet is utilised for this purpose.
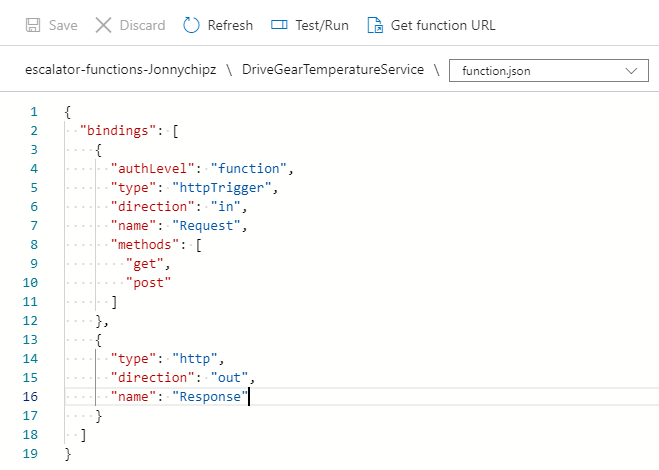
If we check for the ‘function.json’ we can see our Binding:
Testing our Function
In order to test our function, firstly we need to take a copy of the Function URL by clicking this button under the Code & Test Tab:
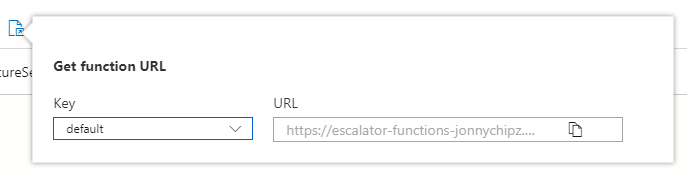
As we selected ‘Function’ as the authorisation level, this means we have to send the Function key as part of the HTTP request. If we had selected Anonymous then this would not be required and ‘Admin’ can use a global master key.
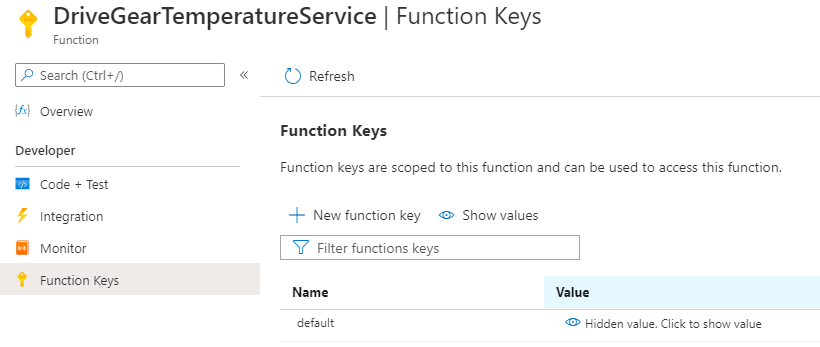
The URL copied above contains the Function Key appended, but in order to check the function key you can find it here:
Testing the Function:
From the web browser the function can be Run by either using the GET or POST methods, and it will allow you to add and JSON Body input for the POST or Query Strings for the GET Method.
And there we have it, this function doesnt do anything specific, but the architecture of how the Function App’s can be created, assigned to an App Service Plan and effectively run on an applicable platform for your code base and each funciton can be called off against some form of a trigger outlined by the bindings!
100DaysOfCloud Overview
My Main ReadMe Page is all set up with a bit about me!

The guys at 100DaysofCloud have set up the GitHub repo to be cloned and also have a great repo containing ideas and areas to collaborate on: https://github.com/100DaysOfCloud/100DaysOfCloudIdeas
My Github Journey tracker can be found here: https://github.com/jonnychipz/100DaysOfCloud
Please Watch/Star my repo and feel free to comment of contribute to anything I push! I really look forward to hearing from anyone who is going to jump on the journey around the same time as me! Lets see where I get to in 100 days!
I would encourage others to jump on this journey, I’m not sure that I will be able to commit every day for 100 days, but as long as I can complete 100 days that will be great!