Hey all, ok so not strictly cloud, but this is hopefully going to be a tool that helps me with the remainder of the 100DaysofCloud Challenge over the next few months.
I’m due to move into an office within the next week, so I thought it would be apt to time it right for some new horse power as well as refreshing my home working space setup.
It has started with a New PC build!
So I must admit its probably been a good 9 or 10 years since I did any real PC building and a lot has changed since then.
I’m currently running a small Lenovo ThinkPad T450 laptop for work and a more powerful i7 HP Elite Book with a bunch of Ram and SSD’s which has served me really well for work over the last 6-7 Years. So here we go…..
Kit List


Additional Peripherals


The Build!
So the sorting of the kit list started a good couple of weeks ago and my Amazon basket and wishlist have taken a hard hit whilst i worked out exactly what needed (wanted!!).
After clicking Buy now the parcels began rolling in throughout this week:
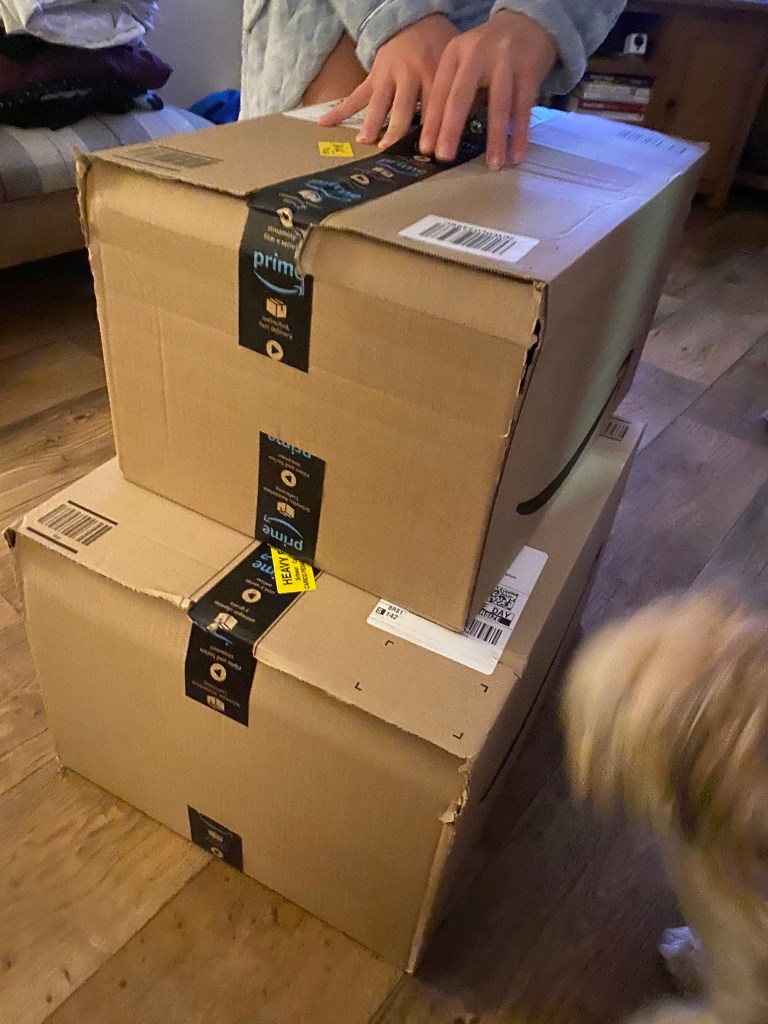


After delivery number 5 arrived on Thursday evening which contained the case, my original plan of waiting until I move into the new office kind of went out of the window as I couldn’t contain myself and proceeded to open some of the boxes. At this point my wife was very impressed with the condition of the living room!
First was the case:

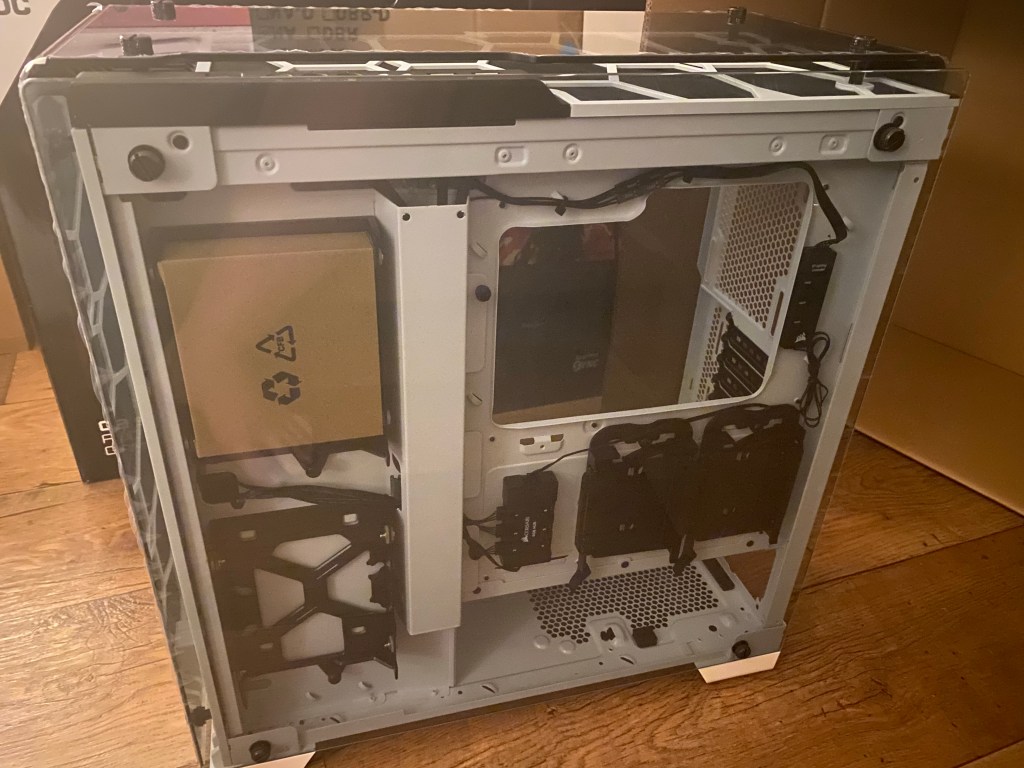
First step was to take the case apart……. oh and before anyone asks, no I didn’t post the motherboard before I put it all in the case……. yes I like to live dangerously!!! 🙂
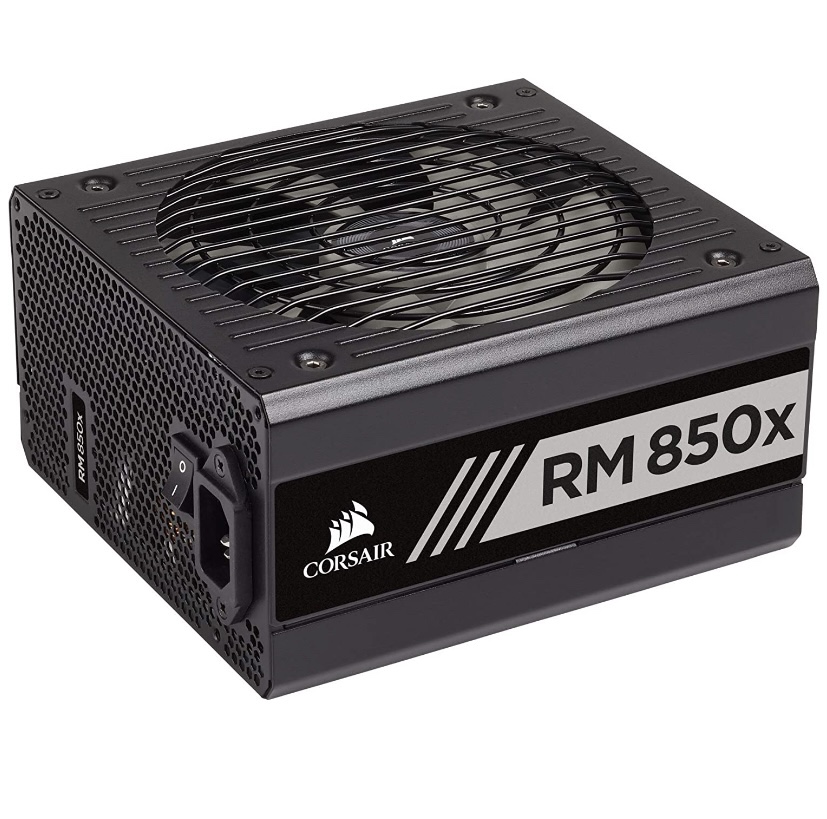
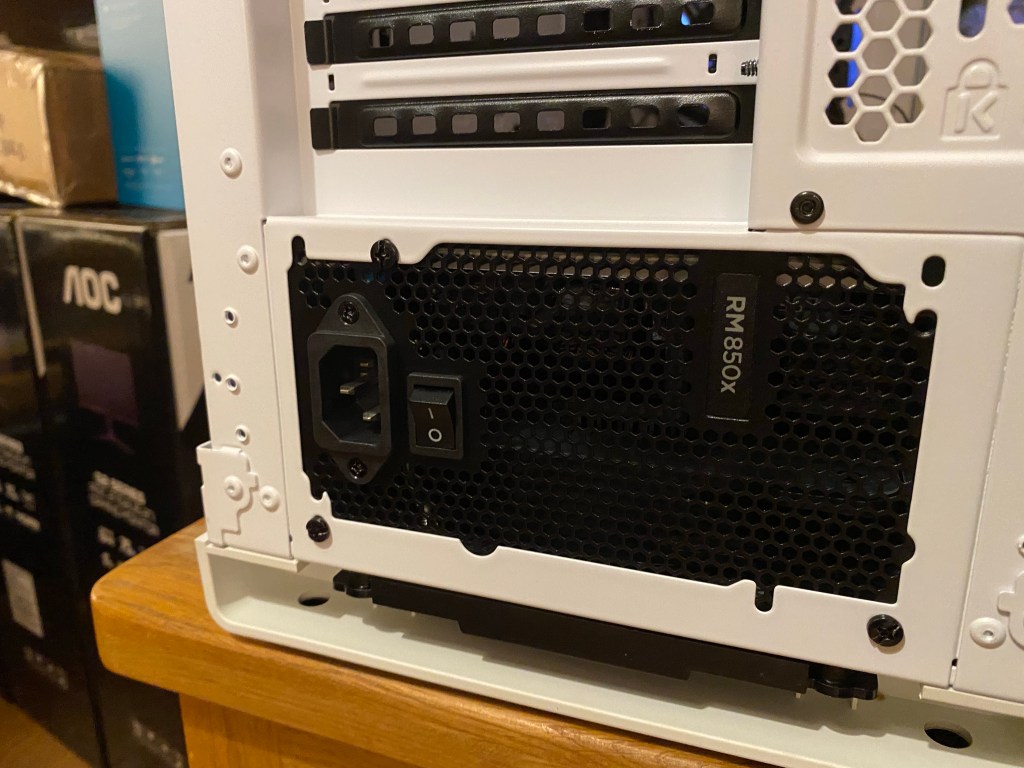
Next step I unboxed the PSU and thought it might be the easiest bit to put in the case, so that went in pretty neatly with the fan pointing down through the outlet grill in the bottom of the case to stop hot air blowing into the main compartment.


Next up? Let’s get that motherboard seated and screwed into the case! I have faith!!!

In the picture above I’ve already removed the chipset covers in prep to remove one of the M2 heat sinks to install my NVMe M2 1TB SSD:

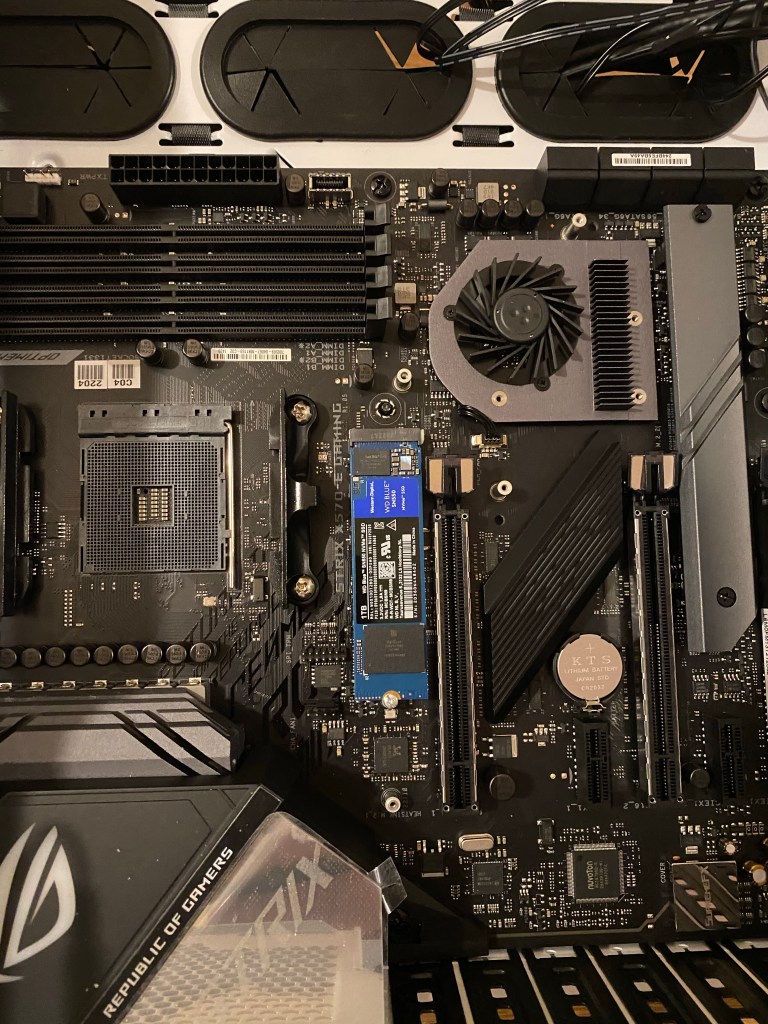
So that was nice and easy once I found my stand off post for the SSD, chipset covers and heat sink all put back on (I actually forgot to remove the sticky back on the heat sink for the M2 so had to go back to do that!!!)
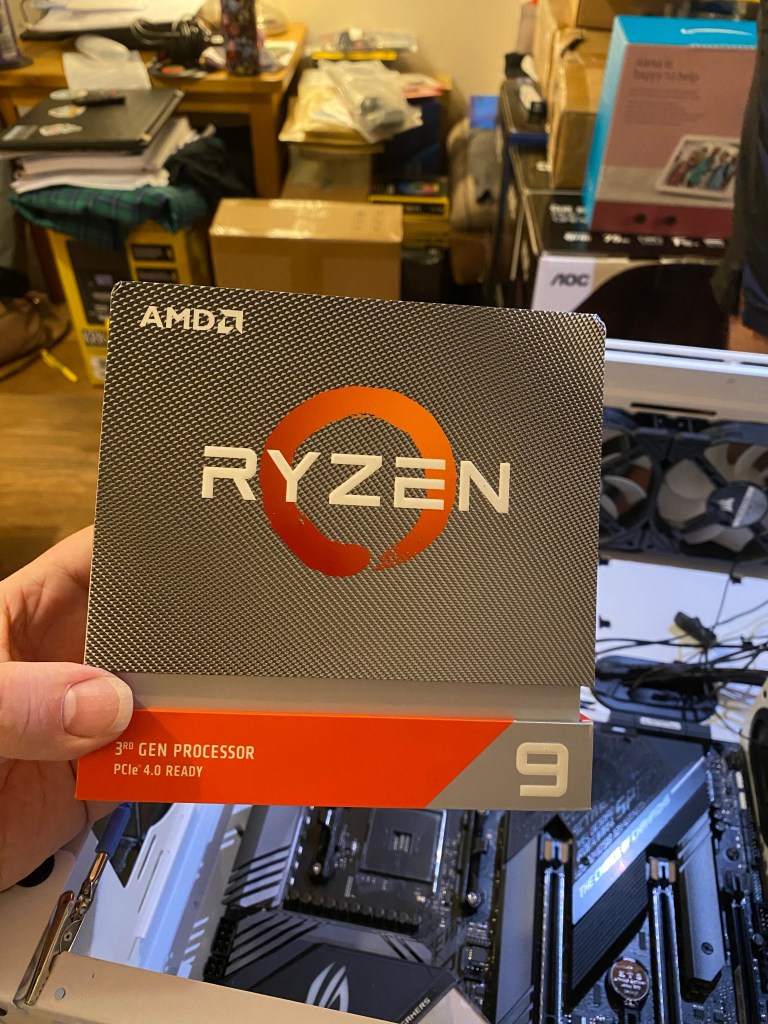
Next up, let’s get this CPU married up to the board:


There we have it, lift the retention arm, make sure the arrow in the corner of the chip matches the he board and seat it gently allowing it to fall into the board. A gentle wiggle to make sure it’s seated and then back down with the retention arm!
Now it’s time to get the RAM on the board!!


And there we are! Ok so because I bought 4 DIMM’s I didn’t need to worry about which slot I was using, all my DDR4 memory was matching and I filled all the slots up. This board will take up to 128gb or Ram, but I thought that might be overkill 😉 and just stuck with a mere 64gb 🙂
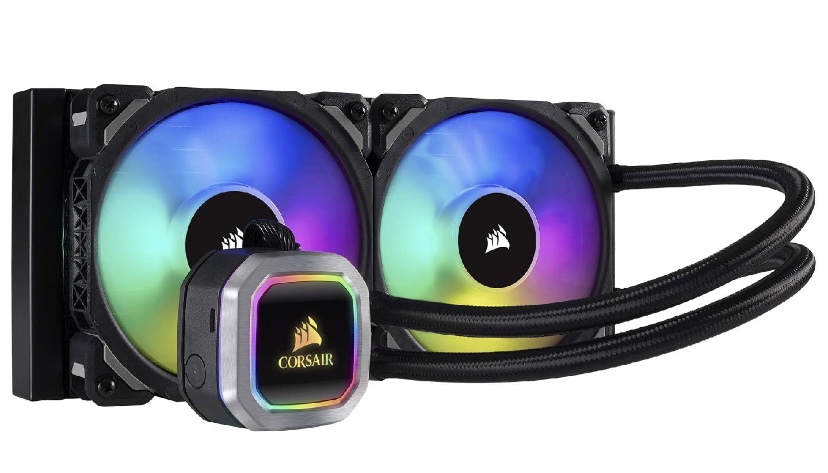
Next up cooler! Ok so disclaimer, I was a bit gutted when I opened the. I’d because I thought I had bought the cooler with a full RGB pump as well as 2 RGB fans, as it turns out, I had actually bought the PRO XT which basically has a slightly different pump and no rgb fans. Not the end of the world, I may buy a couple of fans and switch them out at some point, so I wasn’t going to let that slow my progress!


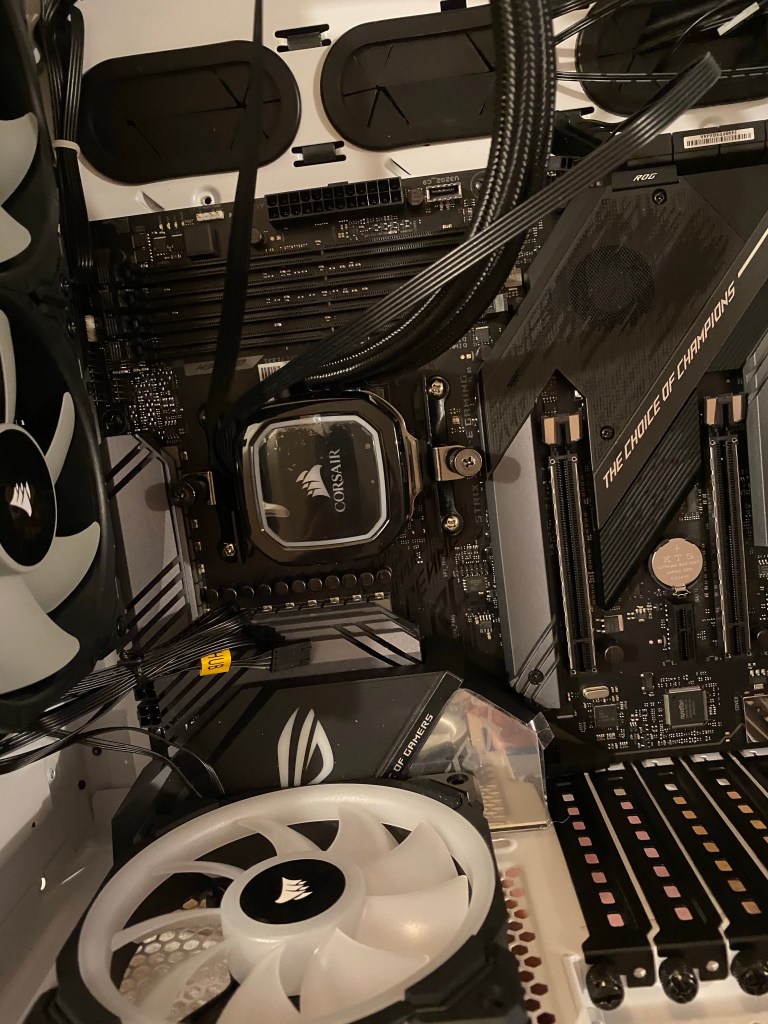
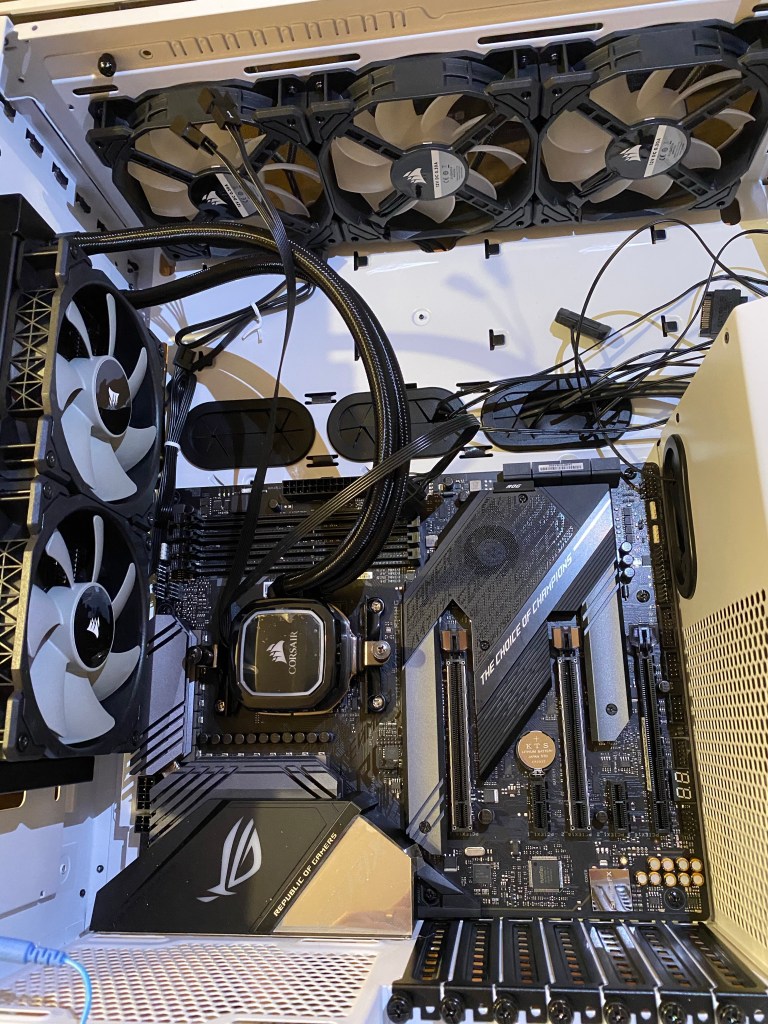
I thought I would put an additional case fan in on the back as well, not sure why I digresses half way through fitting the cooler! I guess it was because I had just mai red the 240mm radiator and fans to the too if the case!
Pump fitter to chip and held in place with the AMD chip mount.
Now to quickly throw in the 4TB drive into one of the 3.5 inch bays. I actually had it mounted the wrong way in this picture as the case cover wouldn’t go back on, no great problem, just quickly spun it around in the mount.
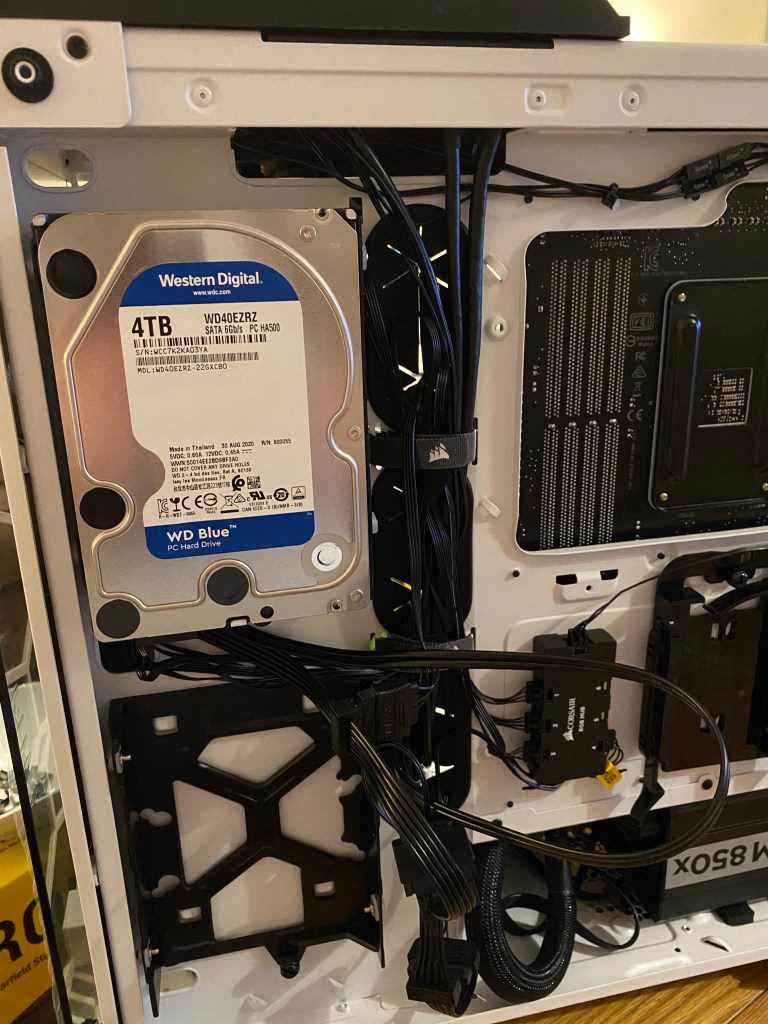
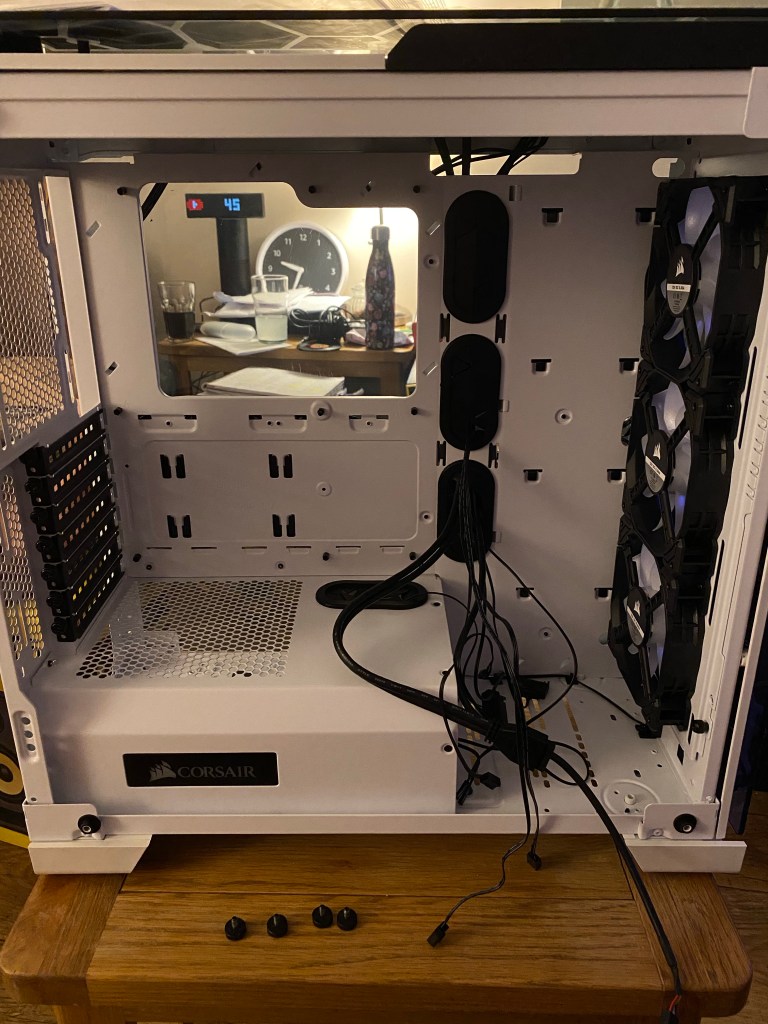
In case you are wondering what that little box with wires is, that came with the case and it’s a Corsair RGB hub. I did actually buy one and obviously didn’t need it as the case came with 3 RGB fans!
One last picture of the CPU cooler and back case fan fitted before we move onto the GPU!

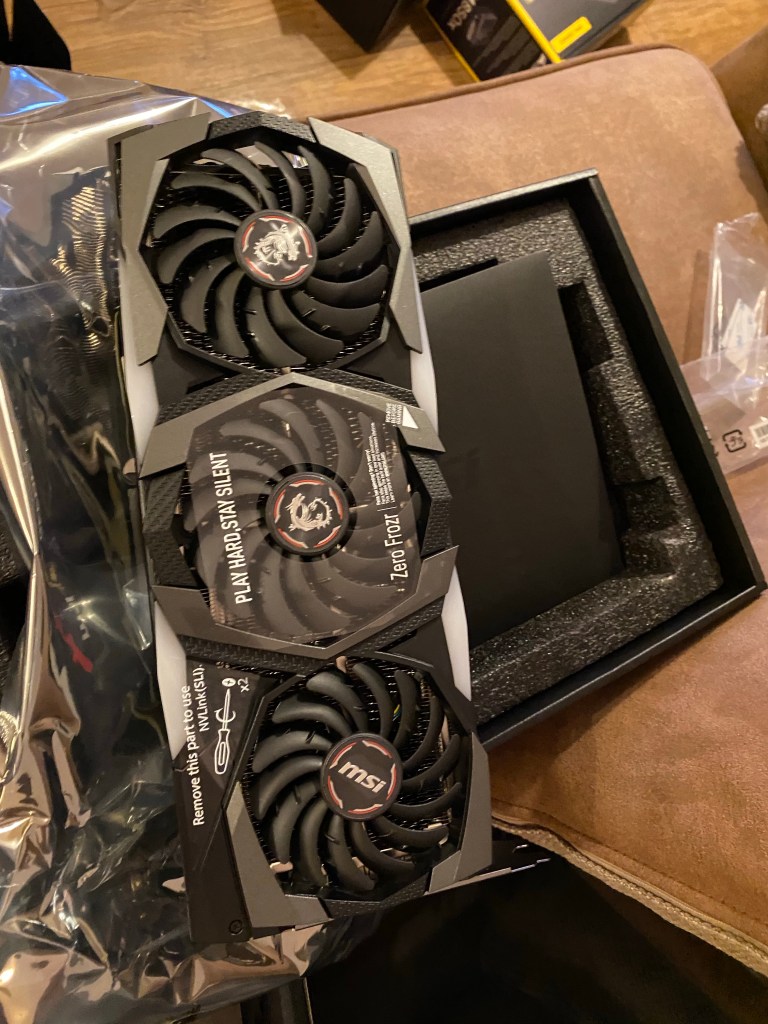
Let’s get the GPU unboxed!
And whilst we are at it, let’s run the cabling in to the GPU and Motherboard, as well as booking up all the fans and case switches etc.
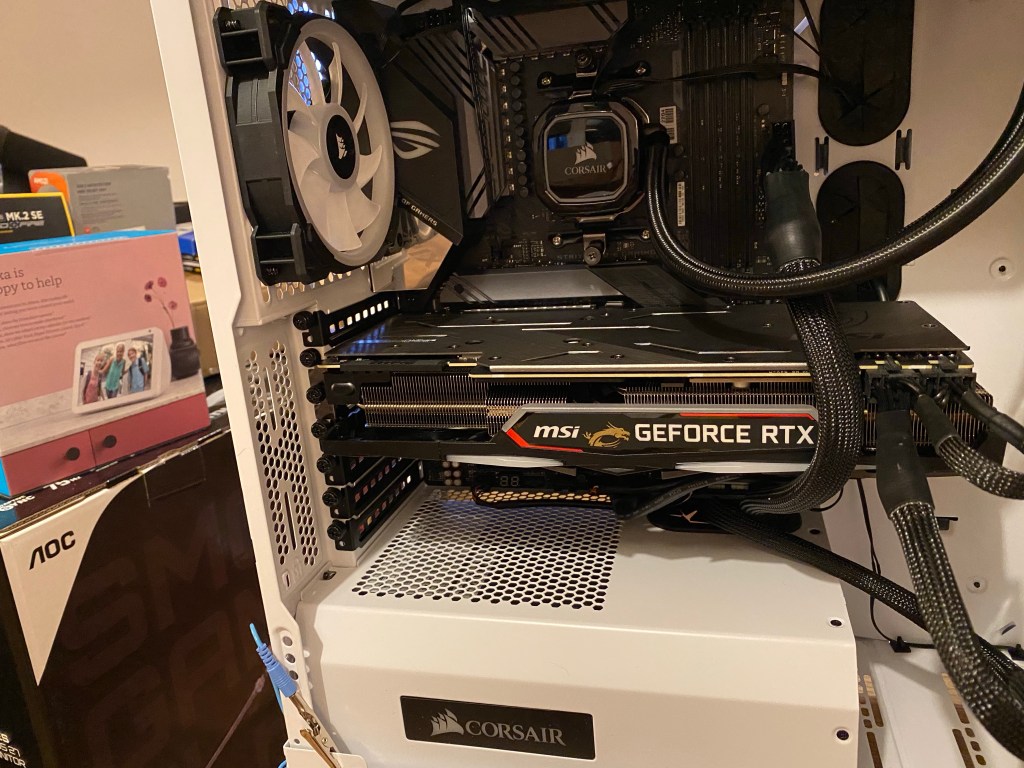

Ok so, all wired up. At this stage I realised it was 3.30am and thought I might have to get to bed! But not before a cheeky power on 😉

So I headed off to bed. At this stage I did have one niggle with the power button not actually powering on the board so I wasn’t getting post lights. I was tired, if someone would have just said, John you might want to check the 8 pin cpu power is seated correctly, oh and John, you have put your power button jumper onto your speaker pins that would have saved me waking up with a little bit of anxiety haha!
Anyhow after a full on day of calls again for work, I quickly worked out what those issues were and thought AI might crack on with some OS installation!!!!
We have life!!!!

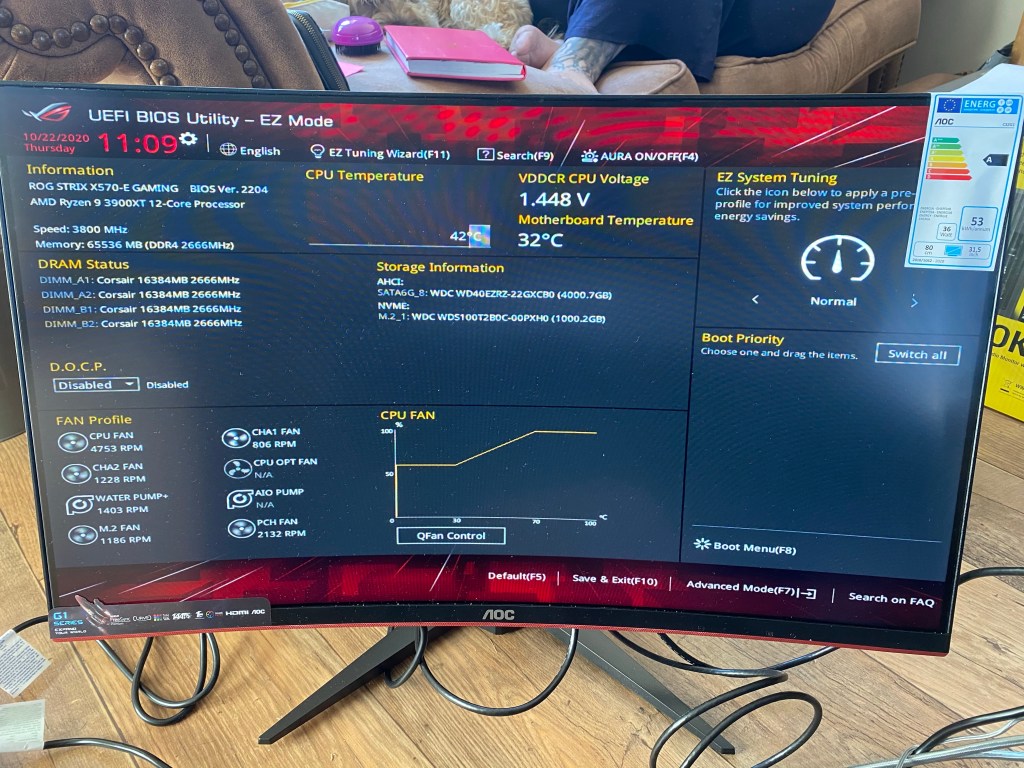

Ok so let’s get me a Win10 image, and a product code! And here we go!!!


So you can guess what I have been up to all night can’t you! No study as such, other than bringing my PC build knowledge up to scratch a tad!!! But hopefully this blog inspires others to give a PC build a go!

Of course we had to have a game of fortnite!

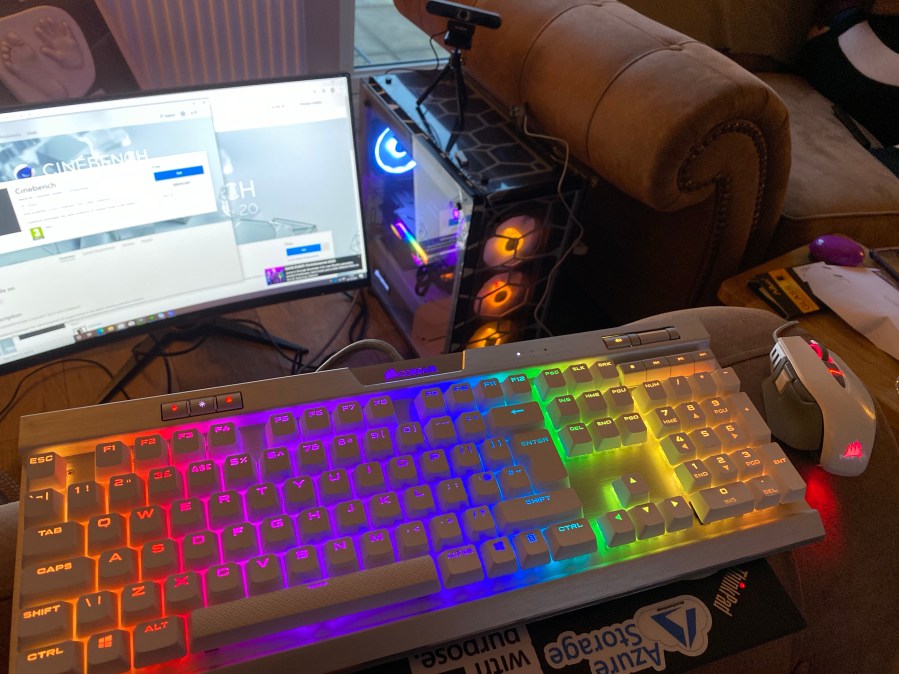
There we have it!
I may do a couple of videos about the set up once I get into the new office with my desk and audio interface / Camera etc. Which will hopefully be happening next week during the school half term! I have also booked so annual leave off so I hope to be having a play with it all soon!!!
I really hope you have enjoyed seeing my photos as much as I had building the PC. It is a beast, so I’m really looking forward to the multi use I hope to get from it!!
Thanks for reading!
100DaysOfCloud Overview
My Main ReadMe Page is all set up with a bit about me!

The guys at 100DaysofCloud have set up the GitHub repo to be cloned and also have a great repo containing ideas and areas to collaborate on: https://github.com/100DaysOfCloud/100DaysOfCloudIdeas
My Github Journey tracker can be found here: https://github.com/jonnychipz/100DaysOfCloud
Please Watch/Star my repo and feel free to comment of contribute to anything I push! I really look forward to hearing from anyone who is going to jump on the journey around the same time as me! Lets see where I get to in 100 days!
I would encourage others to jump on this journey, I’m not sure that I will be able to commit every day for 100 days, but as long as I can complete 100 days that will be great!